Outline
I try to develop a serverside with python django. in this blog, I will introduce how to make django project via django command and how to start the project.
this blog is a series. if you want to check other blog posts of the series, see the links below.
- django installation
- Start django Project
- Use Models in django
- django Administrator Page
- django Routing
- django ORM
- django View
- django Form
- Upload django project to Heroku
also, this blog series source code is opened on Github. you can see full source code via the link below.
django project
execute the command below to execute python’s Virtual Environment and check django is installed.
source venv/bin/activate
django-admin --version
# 2.2
if you want to know how to configure python’s Virtual Environment or django installation, see the previous blog post.
execute the django command below to create django project.
django-admin startproject django_exercise
Basic Folder Structure
after creating the project by django command, you can see the folder structure like below.
|-- django_exercise
|   |-- __init__.py
|   |-- settings.py
|   |-- urls.py
|   |-- wsgi.py
|-- manage.py
each file is like below.
django_exercise/settings.py: configuration file about the poject.django_exercise/urls.py: url management file.django_exercise/wsgi.py: the configuration file that makes django connect the web servers(like apache, nginx, etc).manage.py: project managment file. for example, generating DB migrations, executing the web server without any installation, etc
Configuration
open django_exercise/settings.py and modify the timezone like below.
...
TIME_ZONE = 'Europe/Paris'
...
USE_TZ = False
...
if USE_TZ option set True, only templates and forms will follow the timezone set above. if it is False like above, models will also follow the timezone set above, so you can use the same timezone on everywhere.
also, add STATIC_ROOT to use static files like below.
...
STATIC_URL = '/static/'
...
lastly, if you deploy the project to the production server, you should set False on DEBUG option.
...
DEBUG = False
...
DB settings
in here, I will introduce how to connect django to mysql database. if you want to know how to install mysql on Mac, see the link below.
open django_exercise/settings.py file and modify it like below.
...
DATABASES = {
    'default': {
        'ENGINE': 'django.db.backends.mysql',
        'NAME': '...',  # DB name
        'USER': 'root',  # DB account
        'PASSWORD': '...',  # DB account's password
        'HOST': '127.0.0.1',  # DB address(IP)
        'PORT': '3306',  # DB port(normally 3306)
    }
}
...
you should modify NAME and PASSWORD to your database name and password. execute the command below to install the mysqlclient module for connecting mysql database.
pip install mysqlclient
if you get the error message like below,
...
ld: library not found for -lssl
clang: error: linker command failed with exit code 1 (use -v to see invocation)
error: command 'clang' failed with exit status 1
...
use the command below to install mysqlclient module.
LDFLAGS=-L/usr/local/opt/openssl/lib pip install mysqlclient
after installing, execute the command below to update requirements.txt for other environments(pc).
# cd django_excercise
pip freeze > requirements.txt
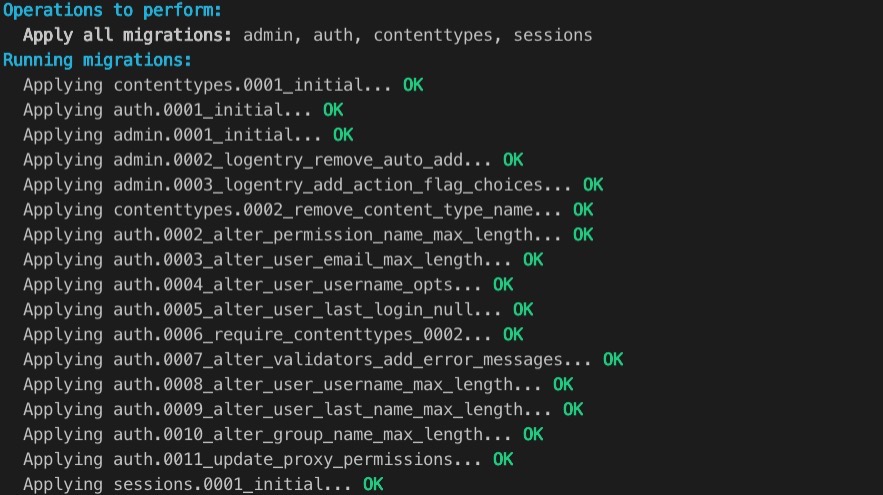
execute the command below to check database is connected via making the django basic tables.
python manage.py migrate
if you’ve done well, you can see the screen like below.

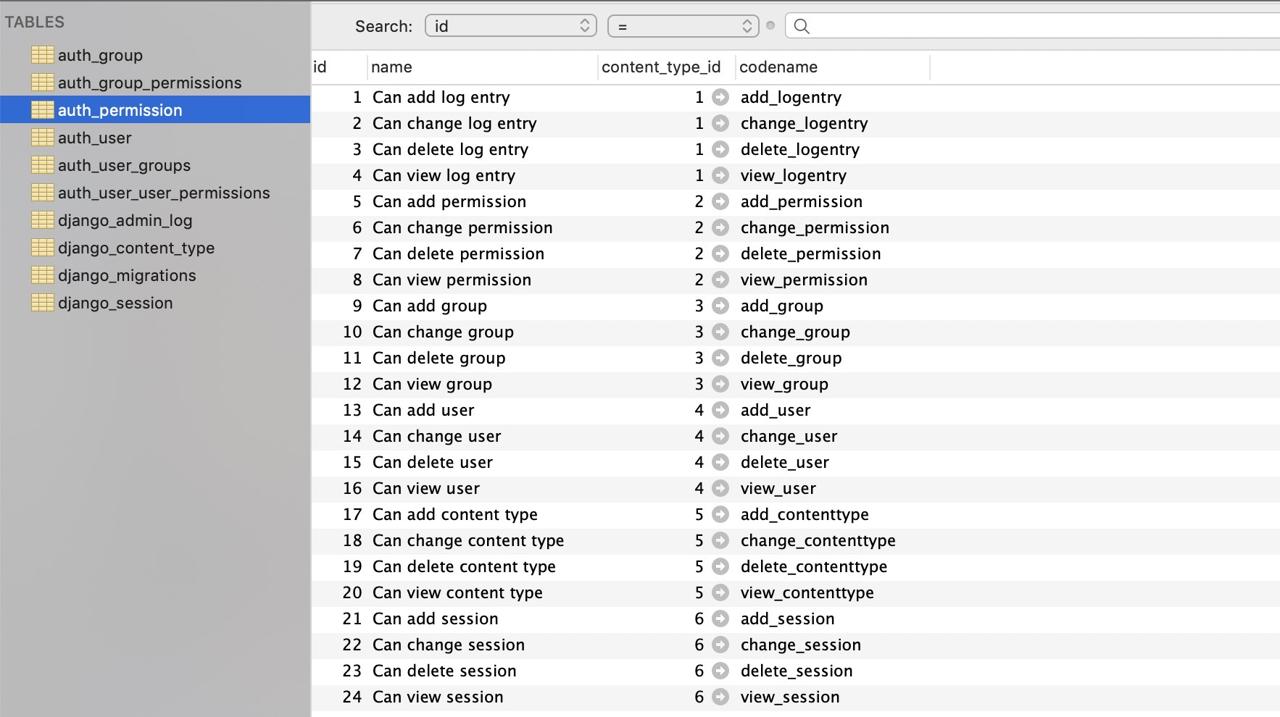
also, you can see the result with database tools like below.

Test
we’ve seen how to set django. now, let’s see django project is working well via the test web server that django basically provides.
python manage.py runserver
# http://127.0.0.1:8000/
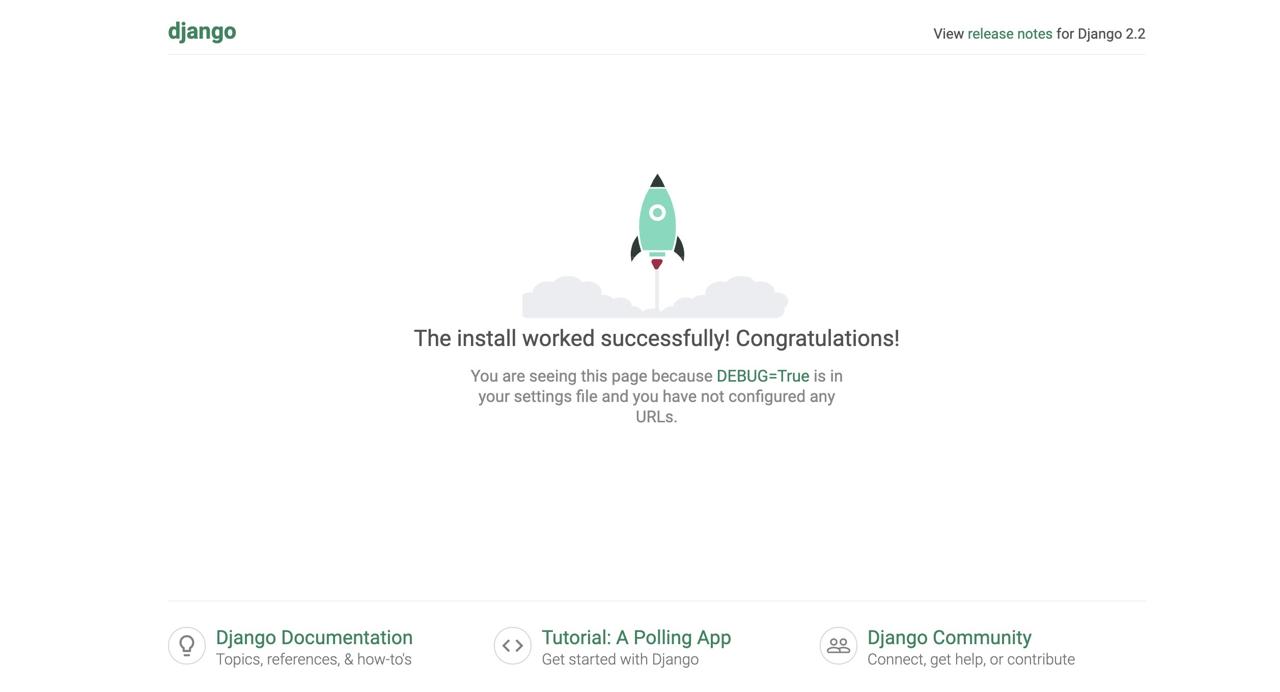
if you set django well, you can see the django basic website like below.

Compeleted
it’s done. we’ve seen how to create and start django project via django command and we’ve seen simply the project structure and configurations. also, we’ve connnected django and mysql and executed the test web server for preparing the development.
now we’re ready to develop . let’s develop the server side by django!
Was my blog helpful? Please leave a comment at the bottom. it will be a great help to me!
App promotion
Deku.Deku created the applications with Flutter.If you have interested, please try to download them for free.


