outline
it is slow and annoyed to test on the simulator, isn’t it? let’s start to test RN(react native) on devices not the simulator.
this blog post is a series. it’s better to see below together.
- iOS build and test
- enroll iOS developer
- iOS Certification
- iOS TestFlight
- register iOS App store
- Deploy automatically applications via Fastlane
if you want to know how to test RN(react native) on Android device, see our another blog post - Android device test.
iOS / Mac
we absolutely need Mac to test RN(react native) project on iPhone. we need to prepare iPhone, Mac and RN(react native) project you want to test.

if you want to knwo how to make RN(react native) development enviroment, see another blog post - RN installation.
create developer account
we need Apple developer account to test on devices. this is not enrolling developer program so it is free to create Apple developer account. if you have Apple developer account, it is better to skip this section.
click below link to go to the Apple developer account site.
- Apple developer account site: https://developer.apple.com/

click account menu on the right top.

if you have Apple account, you can login. if you don’t have Apple account, click Create Apple ID for creating. this account is Apple account that you use on iPhone for downloading App, not Apple developer account.

after login, you can see agreement. click By checking this box I confirm that I have read and agree to be bound by the Agreement above.for agreeing and Submit.

completed to create Apple developer account.
test on deveices
your English is definitely better than us so you can see everything on official site(react native). we do just following it.
- connect the device to Mac using USB.
- got to RN(react native) project folder and execute
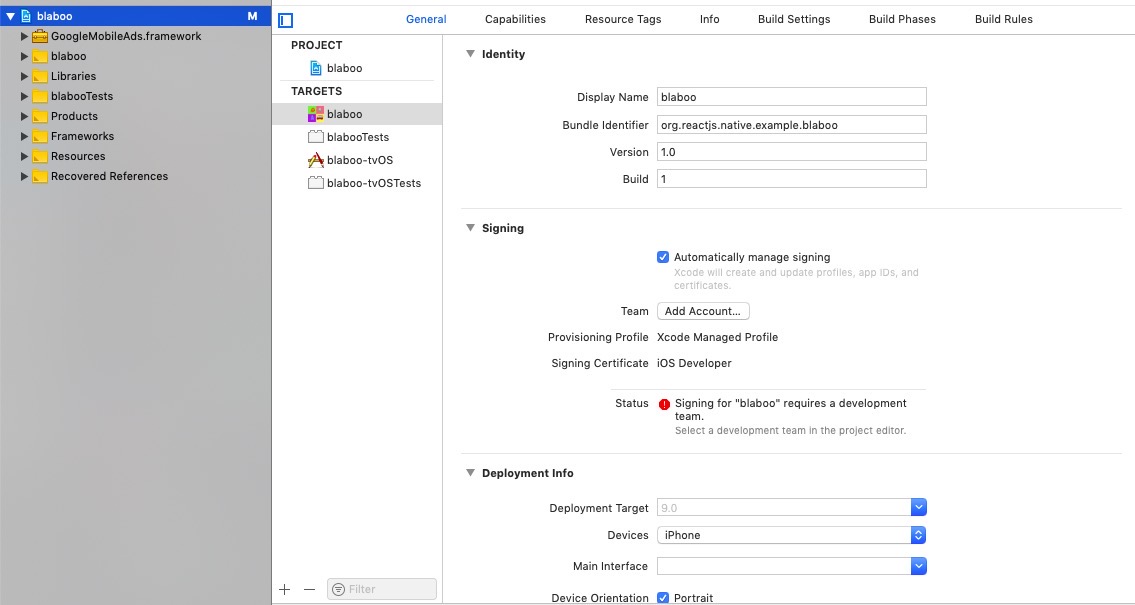
ios/[project name].xcodeprojfile. after xcode is executed, click project name on left top and click
Generaltab on right side. scroll down a little bit, you can seeSigningsection. clickAdd an Account...button besideTeam.
 </picture>
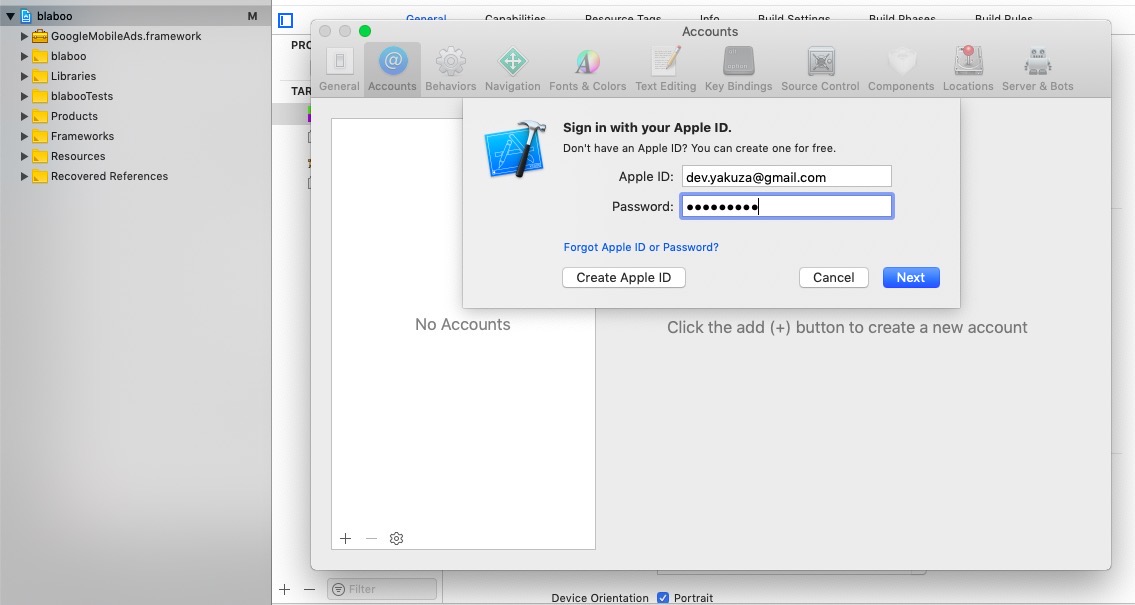
insert Apple developer account ID / PW created upside and click ```Next``` button.

<picture>
 </picture>
after login, click ```Download Manual Profiles``` on the bottom of the window. and close the window.
now you can see dropdown menu beside ```Team```. select your Apple developer account.

<picture>
 </picture>
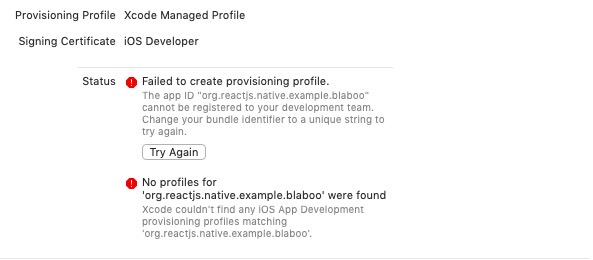
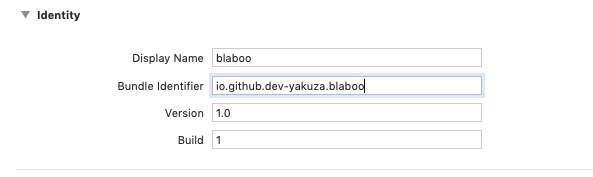
if you have same error above, scroll up and change ```Bundle Identifier``` on ```Identity``` section.

<picture>
 </picture>
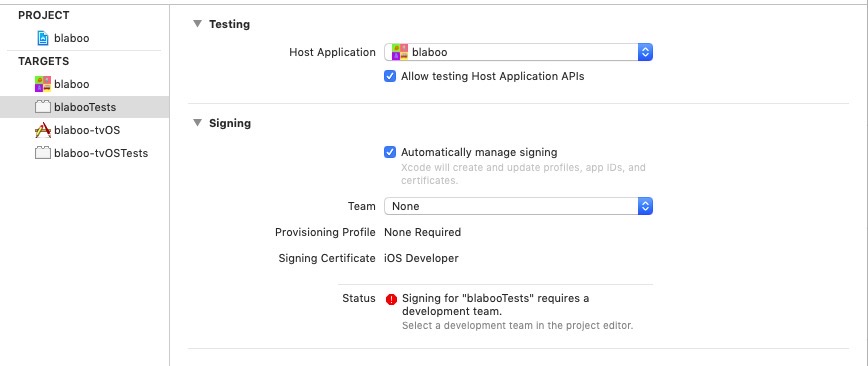
select ```(project name)Tests``` on ```Targets``` section. select your Apple developer account again on the dropdown menu beside ```Team``` for ```signing```.

<picture>
 </picture>
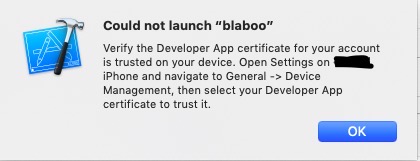
change build target to the device on left top and click the arrow for starting the project.
 </picture>
warning: this process is for testing on the device. so test server is executed on PC like doing the simulator process. and the device accesses to the server to test RN(react native) project. so the device and PC must be on same Wifi/network for testing.
you can see below message when build is succeeded.
 </picture>
there are details what to do. just follow it.
reference
- official site: react native
Was my blog helpful? Please leave a comment at the bottom. it will be a great help to me!
App promotion
Deku.Deku created the applications with Flutter.If you have interested, please try to download them for free.